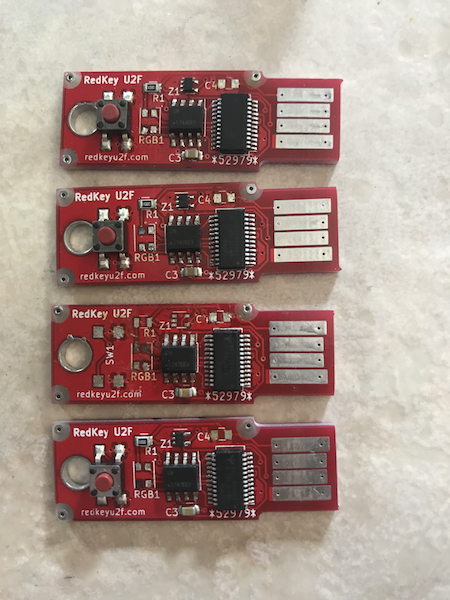
Today I attempted to remove the faulty parts from our finished PCBs. This proved to be a lot harder to do without tearing off a pad than expected. Every technique I tried would rip at least 1 pad off of the LED’s spot. The capacitor on the other hand, was smooth sailing every time.
To remove them, I discovered the best technique was to use the soldering iron to heat up the component and try to wiggle it off. I also tried clipping the leads on the LEDs.
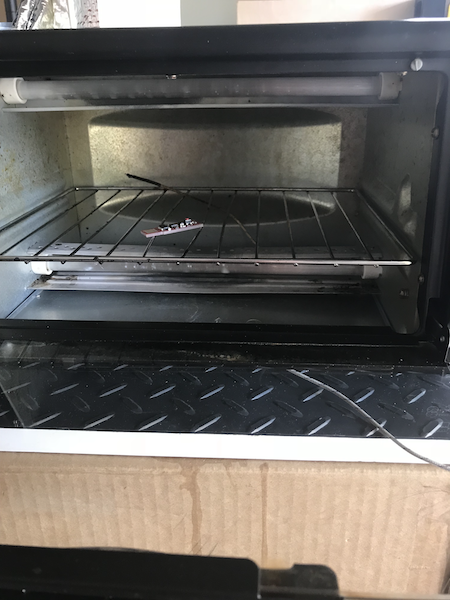
Experimented with the reflow oven again. Tried to see if I could more easily pull parts off the board by using tweezers when the board was in reflow. However, that didn’t work.
Format for Testing a Reflow Oven’s Ability to Desolder a PCB:
- Equipment used: tweezers, toaster oven, thermocouple stop watch, PCB
- Technique: I heated up the board the same way I had to solder it (using the 4 reflow stages), then stuck the tweezers into the oven and tried to remove the capacitor while it was in reflow.
- Outcome: did not work- capacitor didn’t move an inch.
- Problems: was extremely hot reaching into the oven at it’s max temperature, you basically have 1 try to pull off the component so you must be very precise, when I touched the board it shifted and almost fell to the bottom of the oven. Also, the parts seemed to still be rock solid on the board during the supposed reflow period.
- PCB looks after cooling: looks the same as it did before it went into the oven a 2nd time, no noticeable damage.