Learning to desolder takes a lot of time. The first time I tried, it took me almost 30 minutes just to remove 1 component! There’s a lot of technique involved, so every night I try to practice on old circuit boards. When I think I have this under control, I’ll move on to soldering small kits together.
Some things I learned from my hours of desoldering practice:
- The components are hot, the iron is hot, the desoldering wick is hot- basically, get prepared to be burned often.
- Flux is good to speed up the process, but is a hassle to clean up as it’s acidic and sticky- use sparingly.
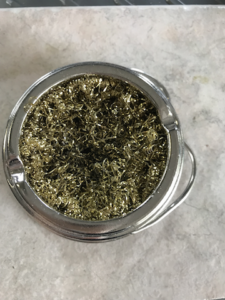
- Clean your iron off on the gold curls after you pull it out of its holder and use it…every time… (it’ll work better later)
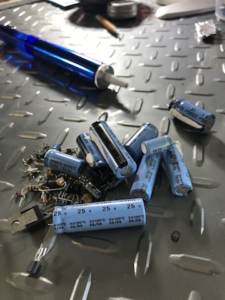
- If you melt off the pins, the components are easier to get out..but then you can’t really use them again.
- Straightening the pins after you remove the components makes them easier to use later.
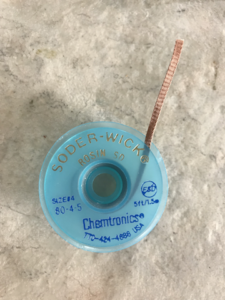
- Desoldering wick is the easiest way to desolder- it sucks the solder right up!
- The thicker the desoldering wick the easier it is to use.
- The desolder sucker still eludes me…working on it.
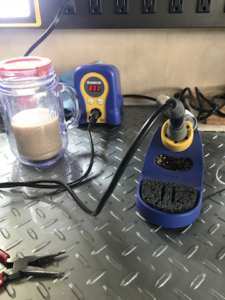
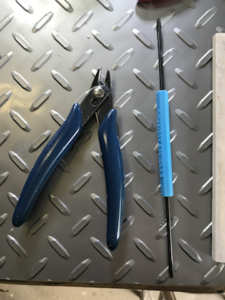
Here’s some pictures of my soldering station. My soldering essentials include: iron, gold curls, pliers, screwdriver, desoldering wick, flux, rubbing alcohol (to remove the flux residue), and a good drink (I’m loving having chai lattes out with me- go figure). I work in my garage, so I always keep the door open to promote airflow and good light, and will put on work lights as well.
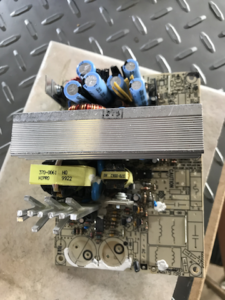
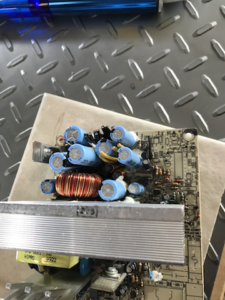
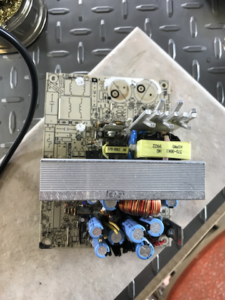
Here’s what I’m working on right now. This board was completely full, but like the previous one I worked on, I forgot to take pictures of the start.
Before:
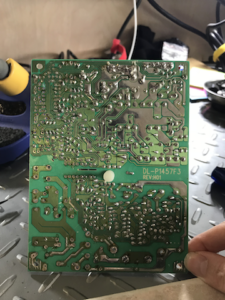
After:
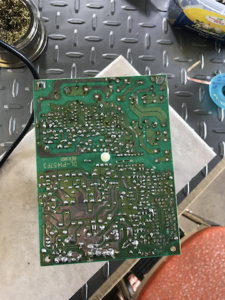
Note: I pulled off a lot of components today (and forgot to take pictures), so the board actually looks much emptier than pictured above. Below is a picture of everything I pulled off today.