
You can test most electronic components to see if they’re working using a multi-meter. Just know the range of your component, the multi-meter setting, and how to use the multi-meter and you’re good to go.
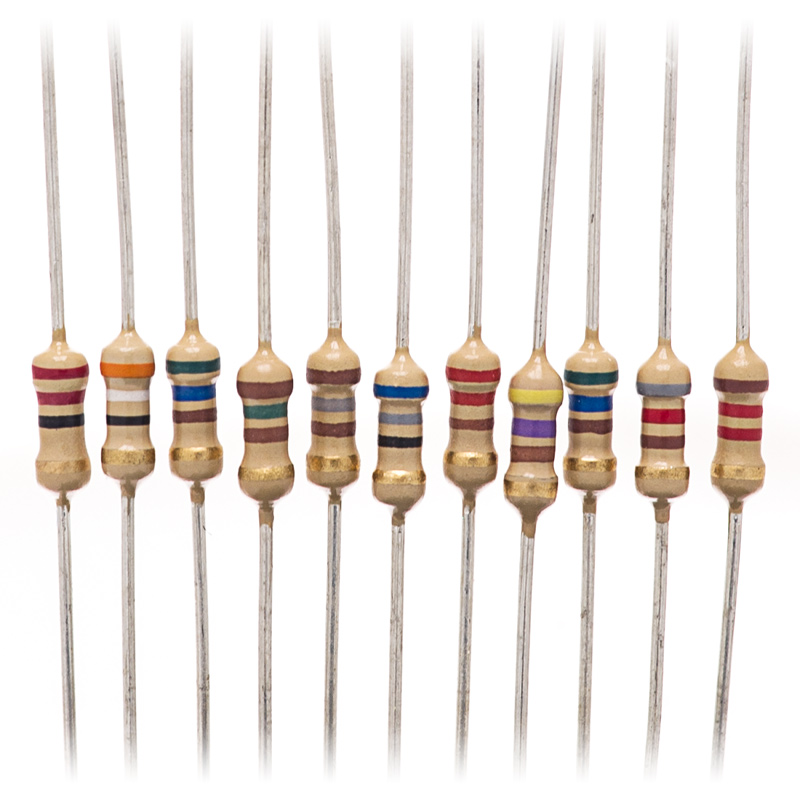
- Testing Resistors
- Set multi-meter to Resistance (Ω) Setting
- Connect multi-meter leads to both ends of component.
- IF meter reads a value within the component’s tolerance range (normally about 10%), then it is a good component.
- IF meter shows OL or a value outside the component’s tolerance range, then you should replace the component.
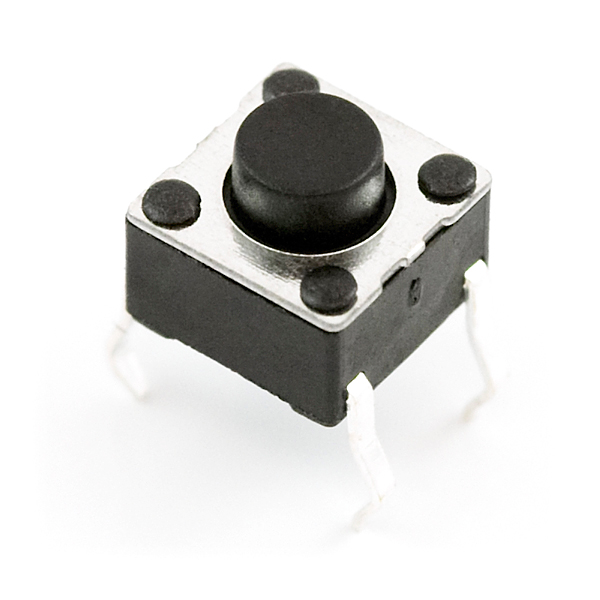
- Testing Switches/ Push Buttons
- Do a continuity test by setting the multi-meter to Resistance (Ω).
- 1st, test the “Off” position of the switch.
- 2nd, test the “On” position of the switch.
- IF the meter reads 0 for the 1st, and a value for the 2nd, the component is good.
- IF the meter reads the same value for both tests, then you should replace the component.
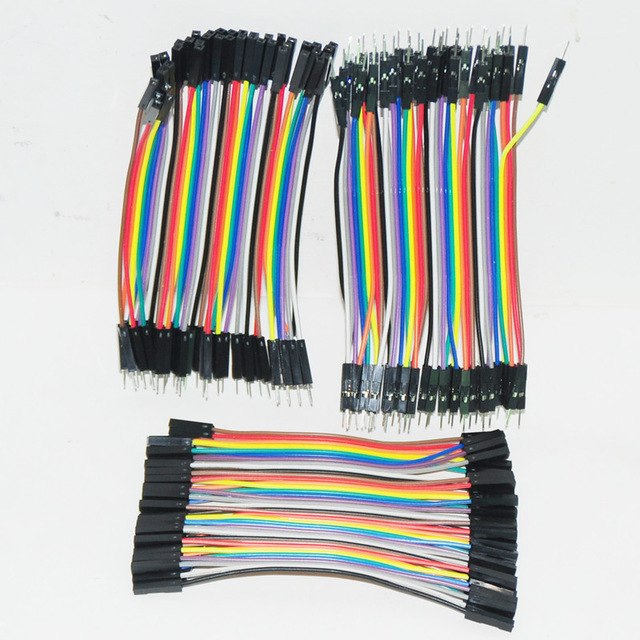
- Testing Cables/Wires
- Do a continuity test by setting the multi-meter to Resistance (Ω).
- Connect multi-meter leads to both ends of component.
- IF meter reads 0 Ω, then it is a good component.
- IF meter reads any other number, then you should replace the component.
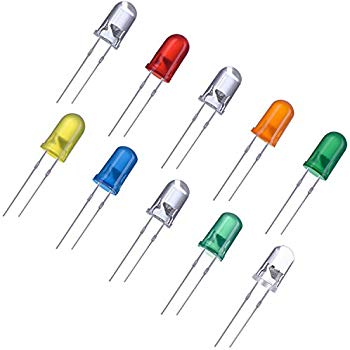
- Testing Diodes
- Remove component from the circuit.
- Set the multi-meter to the Diode Test setting.
- Connect multi-meter leads to both ends and record the reading.
- Reverse the leads and record a 2nd
- IF meter shows OL in 1 direction, and a value in the other, then the component is good.
- IF meter shows OL or a value in both directions, then you should replace the component.
- Testing Capacitors
- ALWAYS make sure the capacitor is fully discharged and removed from the circuit before testing.
- Set the multi-meter to the Capacitance Setting.
- Connect multi-meter leads to both ends.
- IF meter reads near the actual value, then the component is good.
- IF meter reads much lower than the actual value, or has no value, then you should replace the component.
